
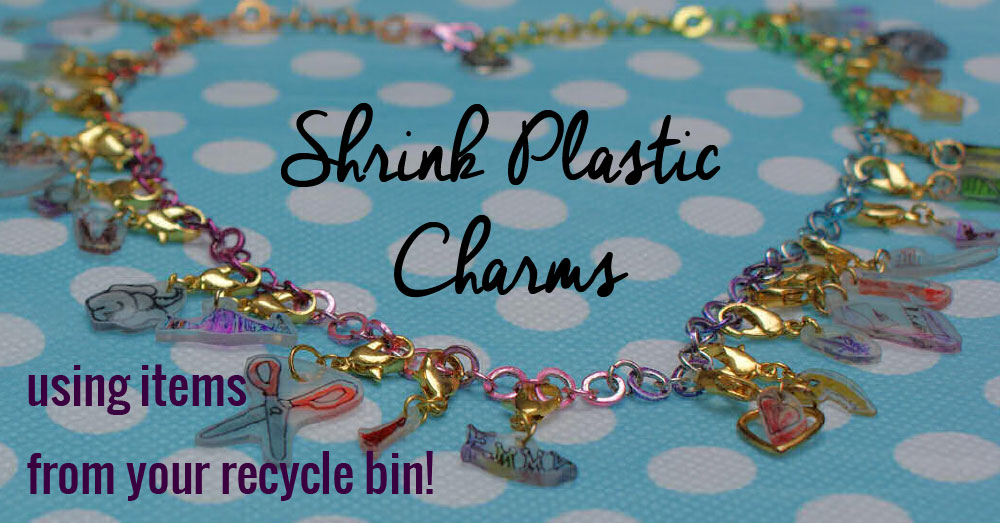
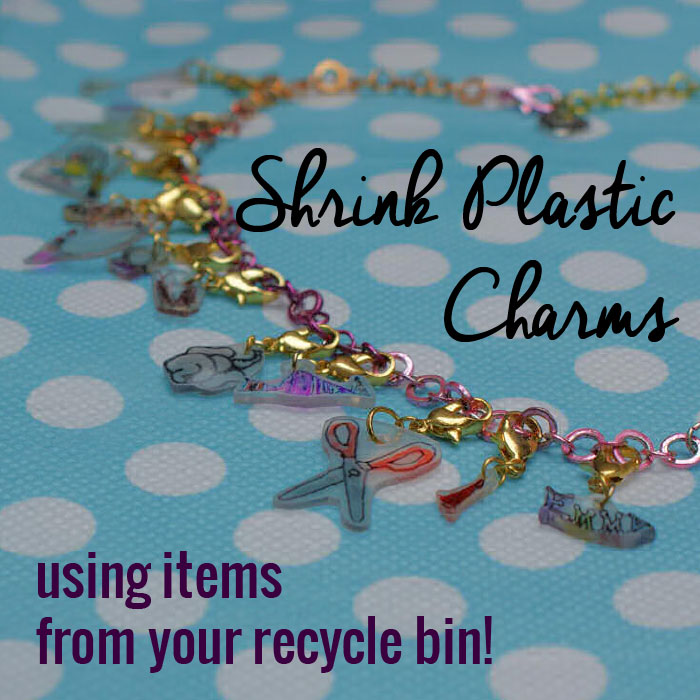
Shrink Plastic Charms Using items from your recycle bin!

Did you ever do Shrinky Dinks as a kid? Did you know that you can get the shrink plastic for FREE?! Check your recycle bin and create a cute charm bracelet or necklace for Mother’s Day!

Note: this post may contain affiliate links to products I use and/or would recommend. This post is not sponsored, nor have I received any other form of compensation from these companies. All opinions are my own. I have included links so that you can easily find the products I am referring to, and, if you decide to purchase something through one of these links, I receive a small compensation for sending you to them, but it does not cost you a penny more. I use these meager earnings to help support my blog. You can read my full disclosure here.
I remember the ads for Shrinky Dinks back in the day, but I never had the chance to try them as a kid. Their popularity faded and I’d forgotten all about it until a couple of years ago when Em got a Barbie charm Shrinky Dink kit as a gift. It came with pre-printed designs and little colored pencils to color them in. Then you put them in the oven and watch them shrink! She was maybe 3 1/2 years old at the time. She liked it, but I’m not sure she really understood how cool the whole shrinking process was. But my wheels started turning. Imagine if you could do your own designs?
Well, I found out they do sell blank sheets of the shrink plastic. You can even get it in colors
, or get inkjet-printable sheets
. They are a bit pricey when you realize that you have to make your designs really big because of the shrinkage, so you might not get much on one sheet. I’m one of those people who buy something like this or receive it for a gift and then never do anything with it because I’m afraid of wasting it. I did that with an origami kit I got in a Yankee swap a couple of years ago, and I even did that as a kid with a Japanese painting kit my parents gave me. I still have that kit with the rice paper and all, untouched.
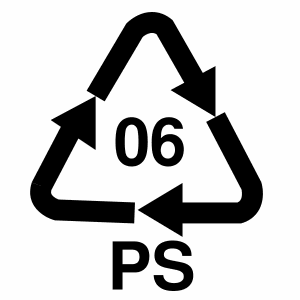
Then I discovered a little secret that opened up my world to shrink plastic creativity. Did you know that clear plastic #6 can be used? Look in your recycle bin. This type of plastic is often used for grocery store bakery items like cakes, muffins, and cookies. At some grocery stores the rotisserie chicken container’s lid is #6 plastic. Look for the recycle symbol with a 6 in it.
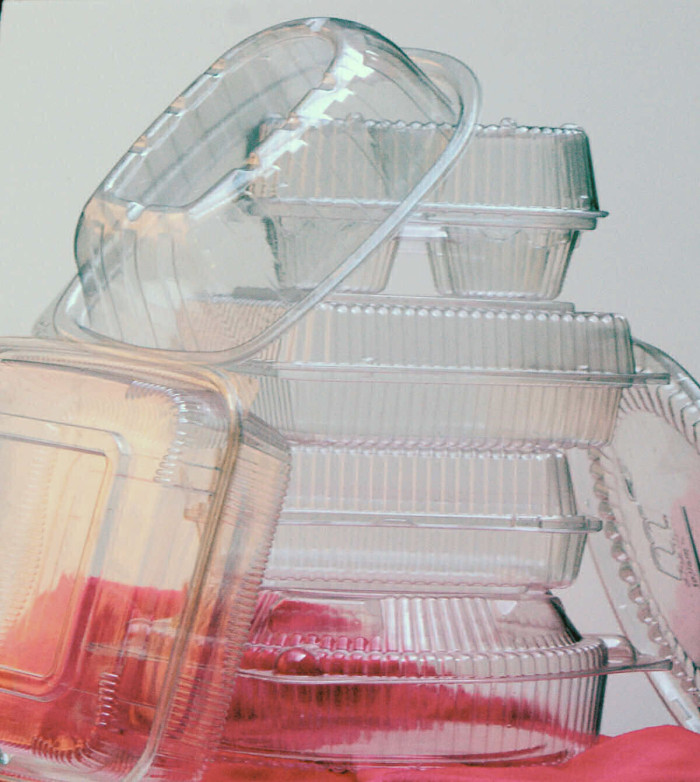
Using this recycled plastic is great for kids crafts and experimenting, but one thing I’ve noticed is that you do not always get even, consistent results when they shrink. When these containers are formed, it starts with a big flat sheet of plastic that is heated and pressed into a form. That means some areas are stretched thinner than others. For example, a container for muffins, where it has four depressions for the muffins. These areas of the plastic are very thin compared to the edges of the container. So, while you can use any of these containers, it is best to find ones that have large flat areas, like the ones for cookies. I’ve actually had really good results with the rotisserie chicken lids. The formed plastic is thicker and more stable. It didn’t shrink quite as much and didn’t deform much if at all. But your mileage may vary.
To prepare the plastic, give it a good washing to get any grease or label residue off. You’ll probably want to cut the container (with regular scissors or a craft knife) so you can work on a big flat piece. Note that you can use the molded sections too, but that’s better for an abstract design. All sections will flatten out. So you can even use the ribbed sides of a cake dome lid and it will come out flat.
Just as with the store-bought sheets, you can draw on the plastic with permanent markers or colored pencils, or use rubber stamps. Since the plastic is clear you can even trace a design, if you aren’t feeling artistic. I have found that it is best to take some fine-grit sandpaper, a rough kitchen scrubber pad or even an emery board and rough up one side of the plastic a little bit. This is especially important when using colored pencils. It helps the color embed into the plastic so it is less apt to rub off the final product. The plastic won’t look as clear—it will come out more frosted—and you can feel the roughness a bit on the final piece.
If you choose not to rough up the surface, I’d recommend using a clear sealant on the piece after is has shrunk and cooled. A sealant is also good if you want to get a more smooth glossy finish. What to use for a sealer? Check out Lucky Squirrel’s chart of Sealers for PolyShrink for a pretty complete list of options and how well they work. In a pinch you can even use clear nail polish, although it might yellow over time.
The plastic will shrink to somewhere between 30% to 50% of the original size. So if you start off with a design that is 3″ wide, the final piece will be between 1″ and 1.5″ wide. (If you have the store-bought sheets, they shrink more consistently. Refer to the instructions for shrinkage amount.) If the size is really important, experiment before creating your final design. The thickness will vary depending on the plastic you use. Most of mine ended up about 1/16″ thick, but I have some that are more like 1/32″ and others that are closer to 3/16″. They will all be rigid after baking and cooling.
When creating your design, think about whether you want the design face up or in reverse, if it matters, as with text. You may want the finished side to be the side that you color, which will be the more vivid side. Or you may want the finished side to be the “back” side, so you are looking at the image through the plastic. This can give a neat 3D effect. If using the back side, remember to layer the colors appropriately, because what goes down first will be on the “top” of the finished image. You can even draw on both sides for more depth.
Another thing to note is that the colors will be darker and more vibrant after shrinking. So what looks like a very pale pink might end up a dark pink. If color matters, do a test piece.
You will need to cut out your design BEFORE BAKING. Again, scissors or a craft knife are fine. If you have a die cutting machine (you lucky dog, you!) it can also be used, as well as punches for predefined shapes. You may choose to go right up to the border of your design or leave a little edge around it. You’ll also want to make any holes before baking, otherwise you’ll have to get out a drill and risk breaking your piece. Remember that the hole will shrink too, so if you use a standard paper punch you’ll get a hole about 1/16″ diameter, which is fine for a jump ring. Don’t make the hole too close to the edge of the plastic, remembering the gap between the hole and edge will also shrink! I’d leave a good 3/16″ gap for a small charm, or bigger for a larger pendant or other trinket.
To shrink the plastic, set the pieces on a metal baking pan lined with foil or parchment paper (I prefer parchment). The oven should be about 325°F (maybe up to 350°F, but I wouldn’t go higher). Do not walk away while these are in the oven, not that you’d want to anyway because they are so cool to watch. It only takes a couple minutes. First you’ll see them start to curl up and twist. I’ve never had a problem, but if you make a really large piece you could have problems with it curling and sticking to itself. I’ve read that you can put a piece of parchment on top of a large piece to help prevent that. After curling up they will settle back down and should go flat. Every once in a while a piece won’t flatten out completely in the oven and leaving it in longer doesn’t help. Instead, grab a drinking glass with a flat bottom (or flat sides), remove the pan from the oven, and quickly press it down to flatten it out. They will cool and harden quickly, especially if you take them off the hot pan.
The plastic may produce a little bit of an odor. This is normal and happens with the store-bought plastic too. Unless you start doing mass production for sales on eBay, I don’t think you need to worry about this. But some people use a small toaster oven and do it outside or in their garage. You can also use a heat gun, but make sure you have a skewer or something to hold down your piece as you heat it.
After the pieces have cooled, you can do more coloring on them if you want, and optionally seal them as I mentioned earlier. You can also lightly sand the edges to round them a bit, taking care to avoid sanding off your design. Or you can use a permanent marker or acrylic paint and color the edges (a gold paint pen looks nice). Now you can add your jump rings and attach them to your jewelry or craft project!
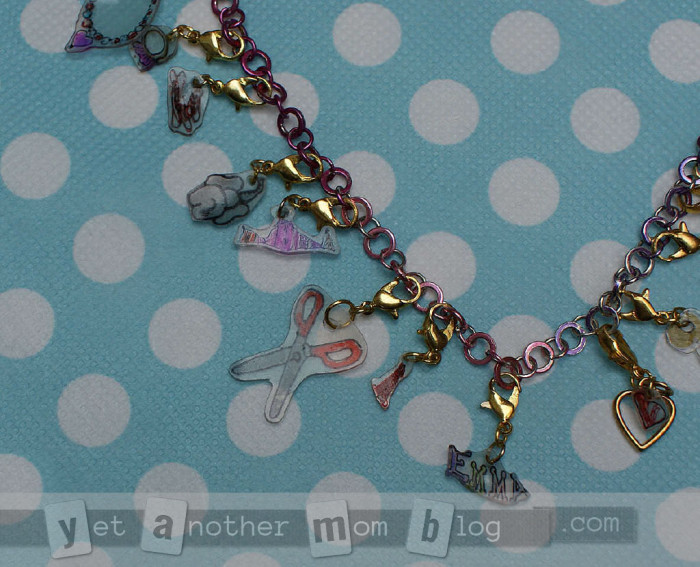
Em had gotten a Charm It! rainbow chain necklace from her grandmother with a starter charm. We decided to add our charms to it. Instead of attaching the charms directly with jump rings, I bought a pack of lobster clasps
. I attached a clasp to each charm. Then we can add, remove, and move charms easily. We each made charms to go on it, but she told me what to draw. We have a spool of thread, a pair of scissors, a ring, a pair of earrings, a necklace, a moon, a star, a magic wand, a cat face, a drawing, a piece of candy, an elephant butt, a flag, a pair of skates, a fall leaf, a key, a flashlight, some pebbles, a Zentangle drawing, a teeny tiny fairy, a Santa hat, a pair of ballet shoes, a heart, and her name. There, I think that was all of them!
In the photo above, you can see that the elephant butt and the scissors shrank pretty evenly, but the Santa hat (to the right of the scissors), the name, and the heart got a bit distorted. Em didn’t mind. We said it added to the charm. (Get it? Ha ha!)
One final tip: as I mentioned earlier, the plastics gets hard and a lot thicker once it shrinks. But it can still crack and break. If making a pendant for an adult, you can get away with cutting out fine details and skinny or lacy areas. But if making a charm bracelet or something for a child or anything that might get lots of abuse, try to keep the pieces more solid. Notice how I cut out the scissors in the picture above.
What else can you do with shrink plastic? How about putting a hole on either side of the design and linking them together for a bracelet? How about make a zipper pull for a jacket or backpack? A luggage tag with your contact info printed right onto the plastic? Or a pet ID tag? How about wine glass ID charms? A tie tack for dad?
If you want to get more advanced, you can bend the plastic into a shape while it is still hot. You could curl up flower petals for a 3D flower, or do a twist in a long rectangle. Or even make a ring or bracelet!
Check out my Shrink Plastic Ideas board on Pinterest for inspiration… and follow me while you are there!
Follow Cynthia Caldwell @ Yet Another Mom Blog’s board Shrink Plastic Ideas on Pinterest.
What would you make? Let me know!


Those are so cute! I can’t wait to try it with the grocery store plastic! Check out the adorable ornaments and hanging decoration a friend made me. They look great with Christmas lights or sunlight shining behind them!
http://suziqcreations.com/shrinky-dink-christmas-ornaments/